
How to Build Your Own Smart Home Assistant in 2026
How to Build Your Own Smart Home Assistant in 2026
Smart home assistants are no longer limited to Amazon Alexa or Google Home. With the rise of DIY projects, anyone can build a personalized smart assistant that fits their needs. These systems can control lights, thermostats, security cameras, and even answer questions using AI-powered voice recognition. This guide walks you through essential components, setup tips, and practical applications for a fully functional smart home assistant.
1. Choosing the Right Hardware
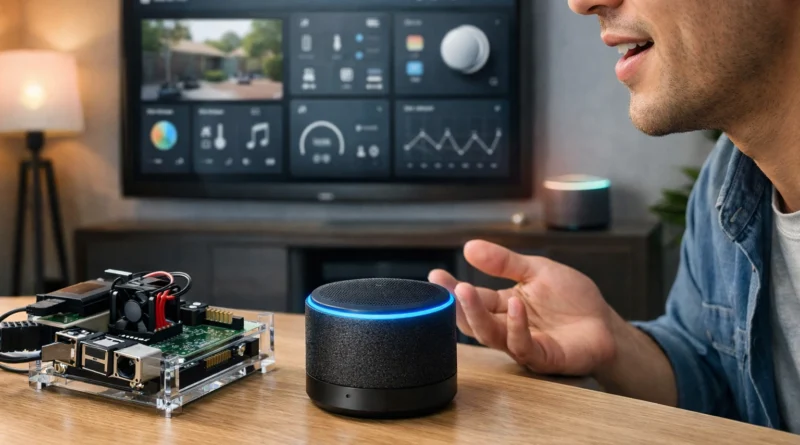
Your DIY smart assistant needs a reliable foundation. Popular choices include Raspberry Pi, Arduino boards, or small single-board computers with AI processing capabilities.
Components:
Raspberry Pi 4 or similar
USB microphone and speaker
Optional touchscreen display
Wi-Fi module or Ethernet connection
Considerations:
Choose hardware that supports your software platform and has strong community support for troubleshooting.
From experience: using Raspberry Pi 4 with a quality USB microphone dramatically improved voice command recognition in noisy home environments.
2. Installing the Software
Open-source platforms like Mycroft AI and Home Assistant provide the intelligence for your smart assistant.
Installation Steps:
Flash the chosen OS onto an SD card
Connect the microphone, speaker, and optional display
Install the assistant software following official instructions
Test basic commands to ensure the system responds
Automation Ideas:
Voice-controlled lighting and thermostat
Scheduling routines for home automation
Notifications for weather, reminders, or emails
Troubleshooting:
Check microphone and speaker connectivity if voice commands aren’t recognized. Ensure software dependencies are installed correctly.
Tip: I noticed that adjusting microphone sensitivity in the software settings solved most recognition issues in our living room setup.
3. Voice Recognition and AI Integration
Integrate AI services for natural language understanding and smart responses. You can use cloud-based APIs or local models depending on your privacy needs.
Practical Tips:
Use noise-canceling microphones for better recognition
Regularly update AI models or software for improved accuracy
Combine with smart sensors for context-aware automation
4. Expanding Capabilities
Once your base assistant works, you can extend its functionality:
Control multiple smart home devices across brands
Set up personalized routines for family members
Integrate with IoT devices like smart cameras, locks, or irrigation systems
Display dashboards on a touchscreen or mobile app
5. Security and Privacy Considerations
Security is critical when building a smart assistant. Ensure:
Strong passwords and network encryption
Limited access to cloud accounts
Regular software updates
Consider local AI processing for sensitive data
From experience: running voice commands locally on the Raspberry Pi instead of relying solely on cloud processing improved privacy and reduced latency in responses.
Conclusion
Building your own DIY smart home assistant is both educational and practical. It allows you to customize every aspect of your smart home experience while learning valuable skills in programming, AI, and electronics. Start with basic commands and gradually add more advanced features as you gain confidence. With patience and experimentation, even beginners can create a smart assistant that rivals commercial options.